How to Improve Tennis Footwork: Split-Step Drills
Disclosure: RacketEdge is an Amazon Associate and earns from qualifying purchases.
To improve tennis footwork, master the split-step (a light hop executed just as your opponent strikes the ball), use side-shuffles for short recoveries, execute cross-over steps for deep baseline runs, and perform daily agility ladder and cone drills to increase foot speed.
When tennis players want to improve their game, they almost always look at their strokes. They spend hours on court trying to hit their forehands harder, change the racket path on their backhand loop, or add topspin to their serves. Yet, when they step into a competitive match, their consistency remains low, they frame balls constantly, and they struggle to control the point.
The problem is rarely their swing mechanics. It is their feet.
In tennis, if you are not in the correct position relative to the bouncing ball, your stroke mechanics will inevitably collapse. You will hit the ball late, crowd your body, or find yourself reaching off-balance, resulting in weak replies or unforced errors. As the old coaching adage goes: "Tennis is played with the feet, not the hands."
The International Tennis Federation (ITF) Coaching Manual highlights the significance of kinetic transfer, stating: "Power and control in tennis do not originate in the upper body; they are the result of a kinetic chain that begins with foot placement and ground reaction forces. Efficient movement patterns allow players to conserve energy and maintain stroke consistency over long matches."
Furthermore, the United States Tennis Association (USTA) Player Development department emphasizes that "split-step timing is the single most critical factor separating elite movers from club-level players. The split-step must be synchronized so that the player lands just after the opponent strikes the ball, allowing the brain to process the ball's trajectory while the muscles are pre-activated for movement."
To help you move like a professional and build a consistent baseline game, this guide breaks down the core movement patterns in tennis, provides a detailed technical footwork specifications matrix, and details step-by-step agility drills you can practice on court.
1. Tennis Footwork Movement Matrix
To move efficiently on court, you must master several distinct footwork patterns. Each movement has a specific purpose and requires coordination of different muscle groups. The table below outlines the primary footwork movements used in modern tennis, their functions, and their technical metrics.
Technical Movement & Agility Specifications
| Footwork Movement | Technical Purpose | Primary Muscle Groups | Average Contact Time | Speed & Acceleration Impact | Common Drill for Mastery |
|---|---|---|---|---|---|
| Split-Step | Pre-activates muscles; initiates multi-directional acceleration | Calves (gastrocnemius), quadriceps, glutes | 150 – 250 ms | Increases reaction speed by up to 20% | Drop-ball reaction drill |
| Side-Shuffle | Low-impact recovery for short-distance movements; keeps chest facing net | Adductors, abductors, calves | 300 – 400 ms | Medium speed; high balance preservation | Baseline-to-baseline side shuffle |
| Crossover Step | Rapid recovery after being pulled wide; covers maximum ground quickly | Glutes, hamstrings, hip flexors | 200 – 350 ms | High lateral speed; essential for deep baseline runs | Wide-feed shadow baseline drill |
| Micro-Adjustment Steps | Fine-tunes positioning just before contact to optimize contact point | Foot intrinsic muscles, calves, tibialis anterior | 100 – 150 ms | Low speed; extremely high precision impact | Spider drill, hand-fed short balls |
| Gravity Step (Pivot) | Rapidly initiates lateral sprint from a stationary split landing | Hip rotators, calves, core | 180 – 280 ms | High initial acceleration; cuts lateral response time | Cone-reach pivot drill |
| Backpedal (T-Step) | Backward movement to track high lobs or deep baseline balls | Hamstrings, calves, lower back | 350 – 500 ms | Low-to-medium speed; crucial for overhead positioning | Lob-overhead shadow recovery |
2. Pillar 1: The Split-Step (The Launchpad of Movement)
The split-step is the single most important movement in tennis. It is not merely a hop; it is a dynamic movement designed to utilize the stretch-shortening cycle (SSC) of your leg muscles. When you hop and land, your muscles undergo an eccentric contraction (stretching), which immediately transitions into a concentric contraction (shortening) as you push off. This sequence loads your muscles like springs.
How to Execute the Split-Step with Perfect Timing:
- Anticipate the Strike: As your opponent begins their forward swing toward the ball, prepare your body by lowering your center of gravity.
- The Hop: Just before your opponent makes contact with the ball, hop lightly about 1 to 2 inches off the ground.
- The Landing: Your landing must synchronize with your identification of the ball's direction. You should land just after the ball is struck. Land on the balls of both feet, with your knees bent and your feet spaced slightly wider than shoulder-width.
- The Push-off: As you identify the ball's direction, push off with the foot opposite your target direction. For example, if the ball is hit to your forehand (right) side, drive your left foot into the court to propel your body to the right.
3. Pillar 2: Micro-Adjustment Steps (The Precision Phase)
Sprinting to the ball is only half the battle. Once you arrive in the general area of the ball, you must adjust your distance. If you take large steps all the way to the ball, you will often find yourself too close to it (crowding your swing) or too far away (reaching and losing power).
To prevent this, transition from long, ground-covering strides into rapid micro-adjustment steps (also called adjustment steps) as you approach the bounce.
Key Rules for Adjustment Steps:
- Keep Your Feet Active: Do not plant your feet early. Keep your feet moving until the split-second before you swing.
- The Golden Distance: Use micro-steps to position yourself so that the ball is at comfortable arm's length plus racket length away from your body at the contact point.
- Stay Low: Keep your knees bent during adjustment steps. Rising up too early lifts your center of gravity, making your shot unstable.
4. Pillar 3: Recovery Footwork (Getting Back to Safety)
After hitting your shot, your job is not finished. You must immediately recover to the optimal court position (usually the center of the baseline behind the singles mark during baseline rallies). How you recover depends on how far you were pulled out of position.
Recovery Mechanics:
- The Side-Shuffle (Short Recovery): If you only had to move a few feet to hit the ball, recover using rapid side-shuffles. This keeps your body facing the net, allowing you to react to the next shot.
- The Crossover Step (Deep Recovery): If you were pulled wide into the doubles alley, a side-shuffle is too slow. You must use a crossover step first.
- Push off your outside foot (the foot you loaded to hit the shot).
- Cross your outside leg over your inside leg in a powerful stride.
- This single stride covers significant ground and builds momentum.
- Transition into side-shuffles as you near the center mark, allowing you to split-step balance for the next shot.
5. On-Court Agility and Footwork Drills
Here are four structured drills you can practice on court to improve your foot speed, stamina, and movement mechanics.
Drill 1: The Spider Drill (Endurance & Multi-Directional Speed)
This is the classic test of tennis movement. Start at the center mark of the baseline, facing the net.
- Sprint Forward-Right: Sprint diagonally forward to where the singles sideline meets the service line. Touch the intersection with your racket, then backpedal and shuffle back to the center.
- Shuffle Right: Side-shuffle to the right singles sideline, touch it, and shuffle back.
- Backpedal-Right: Backpedal diagonally to the deep right corner of the baseline, touch the line, and sprint back to the center.
- Repeat on the Left: Run the same sequence to the left side (diagonal forward-left, side-shuffle left, diagonal backpedal-left).
- Volume: Run this pattern for 45 to 60 seconds, rest for 90 seconds, and repeat 5 times.
Drill 2: Agility Ladder "In-and-Out" (Foot Speed & Coordination)
Lay a standard 15-foot agility ladder along the baseline.
- Two-In, Two-Out: Step your right foot into the first square, followed by your left. Then, step your right foot out to the right side of the second square, followed by your left to the left side. Move forward through the ladder as fast as possible.
- Lateral Shuffles: Stand sideways to the ladder. Move laterally through the squares, stepping both feet into each rung before moving to the next.
- Key Tip: Keep your heels off the ground. Your weight must stay on the balls of your feet to build calf endurance.
Drill 3: The 4-Cone Pivot Drill (Gravity Step & Lateral Acceleration)
Place four cones in a square shape, 10 feet apart from each other. Stand in the center of the square.
- Have a partner call out a cone number (1 through 4) or point to a cone.
- Immediately execute a split-step, pivot using a gravity step, and sprint to touch the designated cone.
- Recover back to the center using shuffles or crossover steps, and prepare for the next command.
- Volume: Run for 30 seconds, rest for 60 seconds, and repeat 8 times.
Drill 4: The Jump Rope Routine (Calf Conditioning & Rhythm)
Jumping rope is an outstanding off-court training tool that simulates the constant bouncing motion required in tennis.
- Double-Foot Bounce: Jump with both feet together for 60 seconds.
- Alternate Foot Step: Jog in place while jumping rope, alternating feet for 60 seconds.
- Double Unders: Turn the rope twice per jump to build explosive power.
- Volume: Incorporate 10 minutes of jump rope as a warm-up before every tennis session.
By dedicating time to footwork training, you ensure that you arrive at the ball early, balanced, and in position. This consistency in movement is the foundation for clean, reliable strokes.
Recommended Gear Mentioned in This Guide
Recommended Performance Racket
*RacketEdge is an Amazon Associate. We earn a commission on qualifying purchases.
Recommended Performance Racket
*RacketEdge is an Amazon Associate. We earn a commission on qualifying purchases.
Recommended Performance Racket
*RacketEdge is an Amazon Associate. We earn a commission on qualifying purchases.
Frequently Asked Questions
What is a split-step in tennis?
A split-step is a dynamic, light hop executed just as your opponent makes contact with the ball. By landing on the balls of your feet with your feet slightly wider than shoulder-width, you pre-stretch your calf and thigh muscles, loading them like springs to accelerate rapidly in any direction.
Why is footwork important in tennis?
Footwork is the literal foundation of every tennis stroke. Without proper foot positioning, you will arrive late at the ball, crowd your body, or reach off-balance, causing your swing path and contact point to break down, which results in framing and unforced errors.
What are adjustment steps?
Adjustment steps, often called micro-steps, are small, rapid steps taken immediately before executing a stroke. They allow a player to fine-tune their spatial distance from the ball, ensuring they do not crowd the swing path or stretch too far, allowing for clean contact in the sweet spot.
How do you recover to the center after a baseline shot?
For short recoveries near the center, use rapid side-shuffles to maintain a chest-forward orientation. For deep recoveries after a wide sprint, execute a powerful first crossover step (crossing the outside foot over the inside foot) to cover maximum ground, then transition into shuffles.
Are jump rope drills good for tennis footwork?
Yes, jumping rope is highly effective for tennis players. It builds cardiovascular and muscular endurance in the calves, strengthens the ankles, improves hand-eye-foot coordination, and trains your nervous system to keep your feet light and responsive on the balls of your feet.
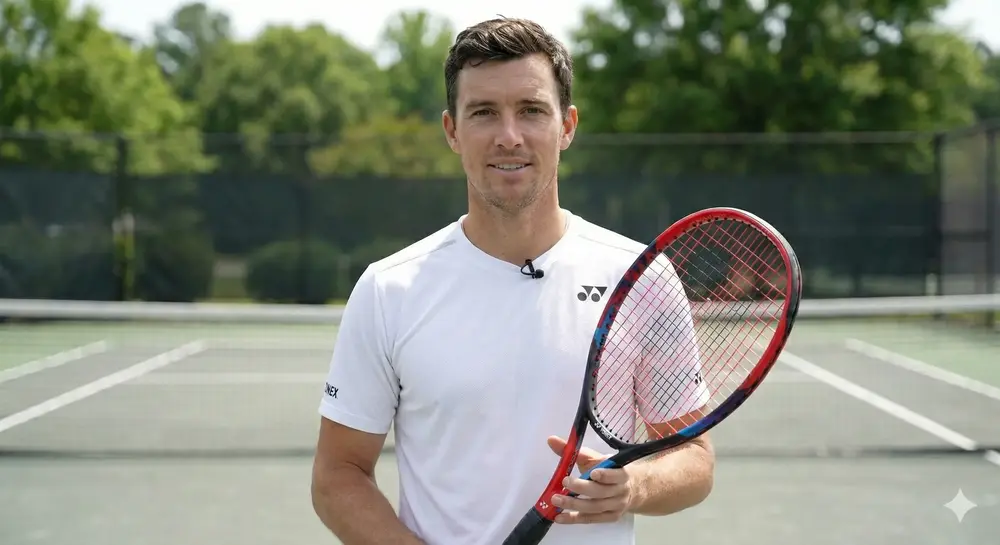
Chris Davies
Chris Davies conducts on-court playtesting and technical reviews to write guides for intermediate and advanced players. His reviews are grounded in baseline tests.