How to Restring a Tennis Racket: Step-by-Step Guide
Disclosure: RacketEdge is an Amazon Associate and earns from qualifying purchases.
To restring a tennis racket, cut out old strings, mount the frame securely on a stringing machine, string the vertical main strings starting from the center and pulling tension on each string, then weave the horizontal cross strings, pulling tension, and secure both sections with tie-off knots.
If you play tennis three times a week, restringing your rackets at a local pro shop gets expensive. Between the cost of the strings and the stringer's labor fee, you can easily spend $40 to $60 per restring. This is why many active players invest in a home stringing machine and learn to string their own rackets. Knowing how to restring a tennis racket is a valuable skill that saves money and gives you complete control over your string bed setup.
While mounting a frame and weaving strings looks intimidating, it is a mechanical process governed by a strict set of rules. Once you understand the sequence of pulling mains and crosses, stringing becomes a rewarding, meditative skill that allows you to experiment with different string types and tensions.
As a member of the United States Racquet Stringers Association (USRSA) who has strung thousands of rackets, I wrote this step-by-step tutorial. In this guide, I will explain the equipment needed, the diagonal cutting pattern, and guide you through your first restring.
1. Racket Stringing Standard Specifications (Statics)
To ensure a successful restring, refer to the technical specifications (statics) of string lengths, tension margins, and clamp forces:
| Parameter | Standard Value | Engineering Purpose |
|---|---|---|
| Total String Length | 40 feet (12 meters) | Sufficient for all standard 100 sq in frames |
| Mains String Length | 20 feet (6 meters) | Required for vertical string installation |
| Crosses String Length | 20 feet (6 meters) | Required for horizontal string weaving |
| Short Side Length (1-Piece) | 10 feet (3 meters) | The section used to string half of the mains |
| Standard Tension Range | 45 lbs to 65 lbs (20 kg to 29 kg) | Standard operating range for performance frames |
| Tie-Off Pull Tension | Target Tension + 10% (e.g. +5 lbs) | Compensates for the tension drop at the knot |
| Clamp Pressure Setting | 120 to 150 lbs of force | Holds the string securely without crushing the core |
| ITF Max Frame Distortion | Less than 8mm change | Prevents warping or cracking the carbon layup |
2. Stringing Machine Types: What You Need
You cannot restring a racket without a tensioning machine. There are three primary types of machines:
- Drop-Weight Machines (Budget): These use a weighted bar and gravity to pull tension. They are slow but inexpensive (around $200-$400) and highly accurate because gravity is constant.
- Crank / Spring-Tension Machines (Mid-range): These use a spring-loaded crank mechanism to pull tension. Once the target tension is reached, the crank locks. They are fast but require regular calibration.
- Electronic Constant-Pull Machines (Professional): These use an electric motor controlled by a computer chip to pull and maintain tension dynamically. They are extremely fast and accurate but expensive ($1,000+).
[!IMPORTANT] Make sure your machine features a 6-point mounting system. Cheap 2-point mounts clamp only the head and throat, allowing the frame to distort, bend, or crack under high tension.
According to studies published by the International Tennis Federation (ITF) Science Committee, improper frame mounting or asymmetrical tensioning can cause a racket hoop to warp by up to 8mm, permanently damaging the carbon graphite layup and ruining the frame.
3. Step-by-Step Restring Tutorial (Two-Piece Method)
We will use the two-piece stringing method (using two separate lengths of string for the mains and crosses). This is the safest method for beginners and is mandatory if you want to install a hybrid string setup (e.g., polyester in the mains, multifilament in the crosses).
Step 1: Cut Out the Old Strings
Before cutting, remove the racket from your bag. Using sharp cutters, cut the strings in a diagonal 'X' pattern starting from the center. Cut the center main and center cross simultaneously, then work outwards. This releases the tension symmetrically, protecting the frame from warping. Remove the cut strings and clean the grommet channels.
Step 2: Mount the Racket
Secure the racket on the machine's mounting stands. Adjust the clamps so they contact the head and throat snugly, then secure the side supports. The racket should be locked in place without being squeezed so tight that it warps the hoop before you even start.
Step 3: Install the Main Strings (Verticals)
- Find the Center: Cut a 20-foot length of string. Thread the ends down through the two center holes at the tip of the head (the 12 o'clock position) and pull them through to the throat (6 o'clock).
- Pull Tension: Clamp one side of the center mains at the throat. Wrap the opposite string around the tension head and pull your target tension (e.g., 50 lbs). Once tension is pulled, secure the string with a clamp.
- Work Outward Symmetrically: Thread the next main string down, pull tension, and clamp. Switch sides. Always keep the tension balanced. Never pull more than two main strings on one side before switching to the opposite side.
- Tie Off the Mains: Once you reach the outer mains, thread the string through the designated tie-off grommet (which is slightly wider). Tie a Parnell Knot (see instructions below) and trim the excess.
Step 4: Install the Cross Strings (Horizontals)
- Start at the Top: Cut a 20-foot length of string. Tie it off at the designated cross-start grommet near the top of the hoop.
- Weave the First Cross: Thread the string through the top cross grommet. Weave under the first main string, over the second, under the third, and so on across the face.
- Avoid String Burn: Pull tension. When pulling the cross string through the mains, pull it at an angle and slide it slowly. Pulling it straight and fast creates friction heat (string burn) that notches and weakens the strings.
- Weave the Remaining Crosses: Weave the next cross string, starting with the opposite pattern (if you started the last row under the first main, start this row over the first main). Pull tension and clamp.
- Work Top-to-Bottom: Always string crosses from the head of the racket down to the throat. This pushes the frame stress down toward the throat, which is the strongest part of the frame.
- Tie Off the Crosses: Once you reach the bottom cross string, thread it through the tie-off grommet at the throat, pull the final knot tension, tie it off, and trim the tail.
4. Tying Professional Tie-Off Knots
Tying a secure knot is critical to prevent tension loss. A loose knot can slip, causing the outer strings to drop 5 to 10 lbs of tension.
The Parnell Knot (The Industry Standard)
The Parnell Knot is a compact, self-locking knot that prevents string slippage:
- Thread the Tail: Pass the string tail through the tie-off grommet, wrapping it around the adjacent main string to form a loop.
- Create the Loop: Wrap the tail over the main string and pull it back through the loop you just created.
- Lock the Knot: Wrap the tail around the main string a second time, tucking the end through the new loop. Pull the tail firmly with your pliers while pressing the knot body against the frame with your thumb. Clamp and release.
The Pro Knot
An alternative knot popular among tournament stringers:
- Wrap the Anchor: Thread the tail around the anchor main string, forming a single loop.
- Double Tuck: Tuck the tail through the loop twice, pulling it back toward the frame.
- Tighten: Pull the tail straight back to lock the loops against the anchor string, securing the tension.
5. Important Safety Tips for Beginners
- Double-Check the Weave: Before pulling tension on a cross string, look closely at the weave. If you made a weaving mistake (e.g., going over two mains in a row), it will create an unplayable gap. You must unweave and fix it immediately.
- Release the Clamps Slowly: When transferring tension from the machine to a clamp, do so smoothly. Snapping clamps shut or releasing them too fast can damage the string coating.
- Calibrate Your Clamps: If you notice the string slipping inside the clamp during tension pulls, clean the clamp jaws with rubbing alcohol and tighten the adjustment screw. String slippage ruins tension accuracy.
Recommended Gear Mentioned in This Guide
Yonex EZONE 100 / Babolat Pure Drive
*RacketEdge is an Amazon Associate. We earn a commission on qualifying purchases.
Wilson Blade 98 v9
*RacketEdge is an Amazon Associate. We earn a commission on qualifying purchases.
Frequently Asked Questions
Can you restring a tennis racket without a machine?
No. You must use a stringing machine. Modern graphite frames require high string tension (45 to 65 pounds). Attempting to pull string tension by hand is physically impossible and will result in an unplayable racket.
Why must you cut out tennis strings in a specific pattern?
Always cut strings in a diagonal 'X' pattern starting from the center. This releases the tension symmetrically. If you cut only the mains or only the crosses, the uneven pressure can warp or crack the graphite frame.
How long does it take to string a tennis racket?
A professional stringer can finish a racket in 15 to 20 minutes. For beginners learning on a home drop-weight machine, the process typically takes 1 to 2 hours during their first few attempts.
What is the difference between one-piece and two-piece stringing?
One-piece stringing (uses a single length of string) requires two knots. Two-piece stringing (uses two separate lengths for mains and crosses) requires four knots. Two-piece is safer for frames and is required for hybrid setups.
What is the best knot for tying off tennis strings?
The Parnell Knot and the Double Half-Hitch are the industry standards. They are compact, secure, and prevent tension loss at the tie-off grommets when you pull the knot tight.
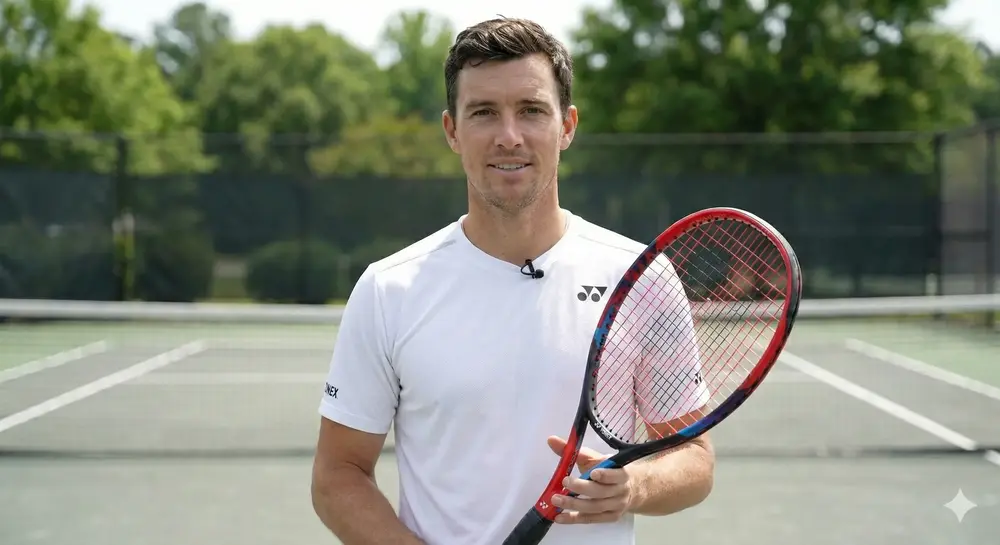
Chris Davies
Chris Davies conducts on-court playtesting and technical reviews to write guides for intermediate and advanced players. His reviews are grounded in baseline tests.